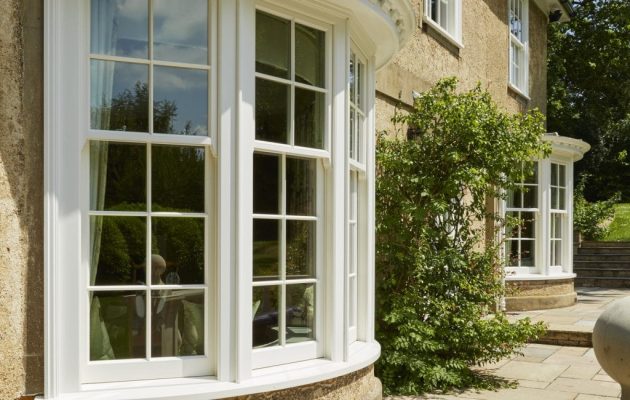
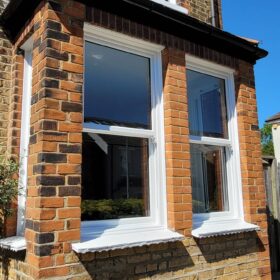
Traditional box sash windows are one of the defining features of many period properties across the UK. Their timeless appearance adds character and charm to Georgian, Victorian and Edwardian homes, making them a popular choice for homeowners who value classic architectural details.
However, older sash windows can often become a source of heat loss and draughts. Single glazing, worn timber frames and ageing seals can significantly reduce a property’s energy efficiency, leading to higher heating bills and reduced comfort throughout the year.
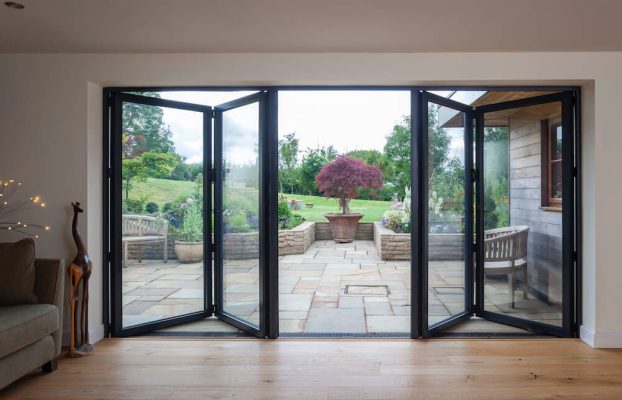
If your property is not subject to planning restrictions, replacing old sash windows with modern double-glazed timber or aluminium alternatives can improve insulation, security and energy performance while preserving the traditional appearance of your home.
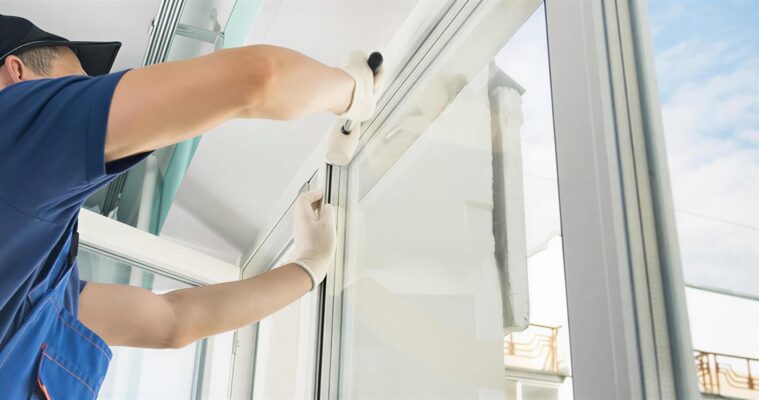
Although installing new windows is generally best left to experienced professionals, removing existing sash windows can be a manageable DIY task for confident homeowners. The key is to work carefully and methodically to avoid damaging the surrounding frame, window opening or glass.
This guide explains how to safely remove traditional box sash windows before replacement or refurbishment.
Tools You’ll Need
Before you begin, gather the following tools:
- Small trim pry bar
- Putty knife or filling knife
- Rubber mallet
- Sharp utility knife (Stanley knife)
- Hammer
- Safety gloves
- Safety goggles
Preparing to Remove a Box Sash Window
Before starting work, clear the surrounding area and place dust sheets beneath the window. If the window contains old glass, take extra care, as older panes can be fragile and prone to breaking.
It’s also advisable to score through any layers of paint or sealant around timber mouldings before attempting removal, as decades of redecorating can effectively glue components together.
Step 1: Remove the Staff Beads
The first components to remove are the staff beads (sometimes referred to as sash stops), which hold the lower sash in position.
If the window is being completely replaced, these can usually be removed using a pry bar. For restoration projects where the original components will be reused, work more carefully to minimise damage.
Insert a putty knife or trim pry bar between the staff bead and the frame, gently tapping it into place with a hammer if necessary. Work your way along the length of the bead until it loosens.
Repeat the process on both sides and across the top of the lower sash.
Step 2: Remove the Lower Sash
With the staff beads removed, the bottom sash should move more freely.
Carefully pull the sash towards you. If it remains stuck, gently work a putty knife into the meeting rail where the upper and lower sashes meet. Paint build-up and previous repairs often cause older sash windows to become difficult to move.
Once loosened, lift the sash clear of the frame.
As you remove it, you will expose the sash cords on either side. These may be fixed with nails, screws or traditional knots. Detach them carefully before fully removing the sash.
Step 3: Remove the Parting Beads
The parting beads separate the upper and lower sashes within the frame.
Using a utility knife, carefully score along the edges to break any paint seal. Insert your pry bar and gently remove each bead.
Where the timber is in good condition, the beads may come away in one piece. Older or damaged beads may break during removal, which is common in period properties.
Step 4: Remove the Upper Sash
With the parting beads removed, you can access the upper sash.
Begin by cutting through any paint lines around the sash to release it from the frame. This is particularly important on older windows where years of decorating have sealed the sash into place.
Carefully ease the sash forwards and work it downwards. Because the upper sash remains connected to the pulley system, it may require a little patience to free.
Once accessible, disconnect the sash cords and remove the sash from the opening.
Step 5: Remove the Counterweights
Traditional box sash windows use hidden counterweights connected to the sash cords via pulleys.
To access them, locate the weight pocket cover, usually found near the bottom of the frame. Score around the cover with a utility knife and carefully remove it.
Support the weight before cutting the sash cord. Once detached, lift the weight out of the box frame.
Repeat the process on the opposite side.
Removing the weights properly prevents damage to the frame and avoids potentially dangerous falls within the weight cavity.
Step 6: Remove the Box Frame (If Required)
If you are replacing the entire window, the final step is to remove the remaining box frame.
Carefully cut through any fixings and use a pry bar to ease the frame away from the surrounding masonry or timber opening.
Work gradually around the frame to minimise damage to the reveal and ensure the opening remains suitable for the installation of new windows.
If you are refurbishing the existing sash window rather than replacing it, this stage is unnecessary. Instead, inspect the frame for signs of rot, movement or damage and carry out any repairs before reinstalling the sashes.
Can You Replace Sash Windows in the UK?
In most cases, homeowners are free to replace existing sash windows with modern alternatives. However, additional restrictions may apply if your property is located within a conservation area or is a listed building.
Conservation Areas
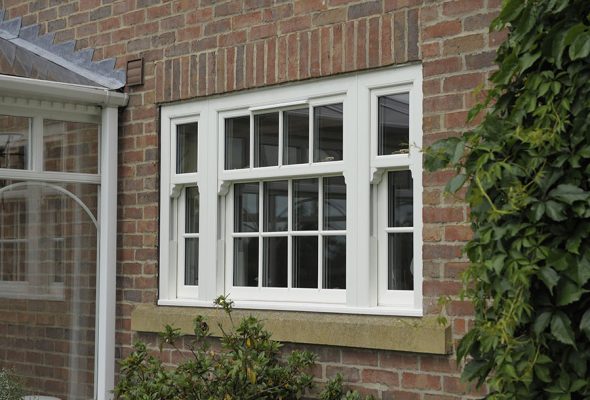
If your home is situated within a conservation area, replacement windows must usually preserve the appearance and character of the property. This often means installing like-for-like sash windows that closely match the originals in design and proportions.
Many local authorities now permit slimline double glazing, provided the overall appearance remains sympathetic to the building.
Listed Buildings
Listed buildings are subject to stricter controls. In many cases original sash windows must be repaired rather than replaced and any alterations may require Listed Building Consent before work can begin.
Materials, glazing specifications and even decorative details may be regulated.
Seek Professional Advice
If you’re unsure whether your property is affected by planning restrictions, contact your local council’s planning department before starting any work. Obtaining guidance early can help avoid costly mistakes and ensure compliance with local regulations.
Final Thoughts
Removing traditional box sash windows is a task that many experienced DIY enthusiasts can undertake with the right tools and preparation. By following a careful, step-by-step approach, you can safely remove the sashes, cords and counterweights while protecting the surrounding frame.
Whether you’re planning a full window replacement or restoring original timber sashes, taking the time to remove components correctly will make the next stage of your project far easier and help preserve the character of your home.